

- Why are heat resistance and safety codes crucial when installing fireplace tiles?
- What are the best materials to choose for a durable and stylish fireplace tile installation?
- How do you properly prepare the surface before installing fireplace tiles?
- What steps ensure precise and professional fireplace tile installation?
- How do you properly grout, caulk, and seal fireplace tiles for long-lasting results?
- When should you hire a professional for your fireplace tile project instead of doing it yourself?
The fireplace naturally commands attention in any architectural setting. It stands as the visual anchor of a living space, drawing the eye and setting the entire mood of the room. Whether your home features a roaring wood-burning hearth, a sleek modern gas insert, or an eco-friendly electric unit, the materials framing it dictate the surrounding aesthetic. Upgrading this focal point is one of the most highly rewarding interior remodeling projects a homeowner can undertake. However, a successful transformation requires much more than simply sticking beautiful pieces of ceramic to a vertical wall.
It demands a rigorous understanding of thermal expansion, substrate integrity, building codes, and meticulous layout planning. In this definitive guide, we will explore the technical nuances and aesthetic strategies required to execute a flawless project. From selecting the appropriate heat-resistant materials to mastering the final grout joints, this masterclass provides the deep industry insights you need. Prepare to elevate your living room with a striking, durable, and structurally sound focal point.
1. The Anatomy of a Perfect Project: Heat Resistance and Safety Codes
Before discussing tile colors or grout lines, we must address the most critical aspect of any hearth project: structural safety and heat resistance. A fireplace is subjected to extreme temperature fluctuations. These rapid changes cause materials to expand and contract constantly, a phenomenon known in the trade as thermal shock. If your materials or installation methods ignore this reality, your beautiful new facade will quickly crack, pop off the wall, or present a serious fire hazard.
The first step is thoroughly reviewing your local building codes and the specific clearance requirements outlined by your fireplace insert manufacturer. National fire safety standards typically dictate strict clearances for combustible materials. For instance, combustible materials like wood trim or standard drywall often need to be kept a minimum distance away from the firebox opening. The space directly surrounding the firebox must be constructed entirely of non-combustible materials.
Standard drywall, even the moisture-resistant variety, is completely unsuitable as a substrate for a fireplace surround. The paper facing can degrade under high heat, and the gypsum core lacks the rigidity needed to support heavy tiles over time. Instead, you must utilize a specialized cement backer board. Products made from aggregated Portland cement and glass fiber mesh are engineered to withstand extreme heat without warping or releasing toxic fumes.
Furthermore, you must carefully select the correct mortar. A high-quality polymer-modified thinset is usually the best choice. The added polymers provide flexibility, allowing the mortar bed to absorb the microscopic movements caused by thermal expansion without losing its bond. When dealing with natural stone or highly dense porcelain, ensuring your thinset has a high shear bond strength is absolutely non-negotiable. Skipping these underlying structural requirements guarantees a failed installation, no matter how expensive your surface materials might be.
2. Selecting the Ultimate Materials: From Large Format Porcelain to Natural Stone
Choosing the right tile is where engineering meets interior design. The flooring and tiling industry has evolved dramatically, offering an overwhelming array of choices. Your selection will dictate the tools required and the complexity of the layout.
Porcelain is undeniably the reigning champion for high-heat environments. Due to its manufacturing process, which involves firing highly refined clay at extreme temperatures, porcelain is incredibly dense and possesses a water absorption rate of less than 0.5 percent. This density makes it virtually impervious to heat, scratching, and staining. The current industry trend heavily favors large format porcelain panels, sometimes referred to as sintered stone. These massive slabs can cover an entire surround with zero grout lines, creating a breathtaking, monolithic modern aesthetic. However, handling and cutting these oversized panels requires specialized suction frames and heavy-duty wet saws, making them a challenging choice for amateurs.
Ceramic tiles, particularly the highly sought-after handmade Zellige tiles, offer a completely different vibe. They bring warmth, texture, and organic imperfection to the space. While ceramic is generally safe for surrounds, it is slightly more porous than porcelain. If you have an open wood-burning unit, light-colored ceramics might be susceptible to soot staining if not glazed properly.
Natural stone, such as marble, slate, travertine, and quartzite, provides unparalleled, timeless elegance. Marble creates a luxurious, classic atmosphere, while slate offers a rustic, earthy texture perfectly suited for a craftsman-style home. The caveat with natural stone is maintenance. Stone is inherently porous and requires regular sealing to protect it from soot, ash, and smoke discoloration. Additionally, some stones contain natural fissures that can react unpredictably to intense, direct heat, so verifying the specific stone’s heat tolerance with your supplier is an essential step.
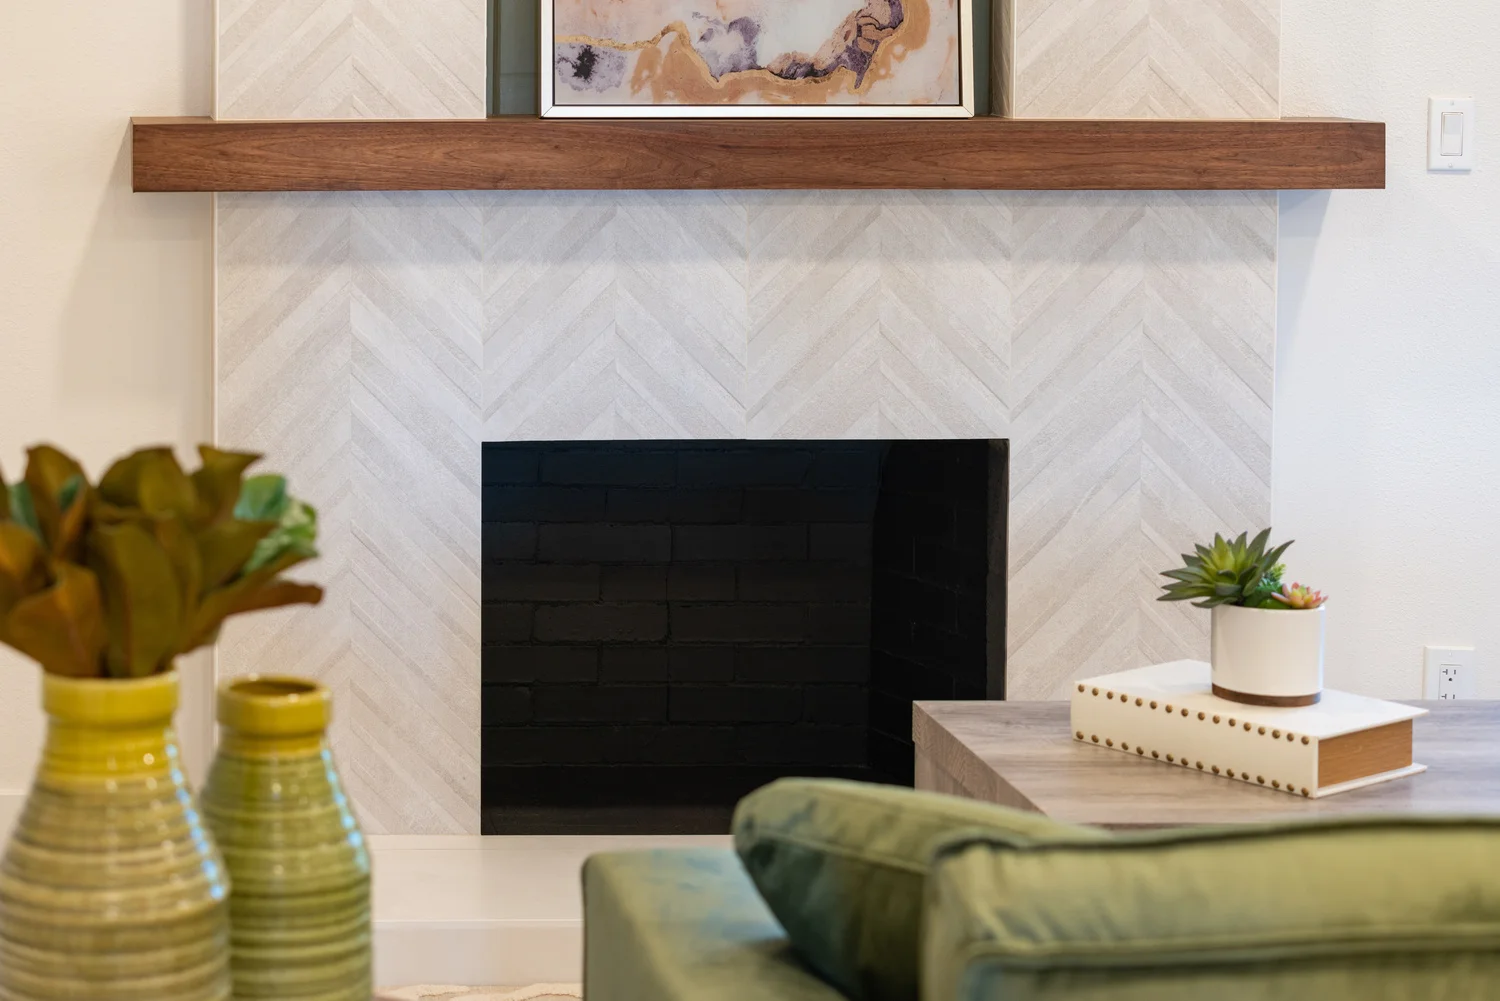
Beyond the material itself, consider the format and layout pattern. A classic subway pattern is safe and universally appealing, while a highly technical herringbone layout adds a sophisticated architectural element. Three-dimensional textured tiles can play beautifully with the lighting cast by the fire, creating deep shadows and striking visual interest.
3. Demolition and Substrate Preparation: Building a Solid Foundation
The golden rule of the tiling industry is that an installation is only ever as good as the substrate beneath it. You cannot successfully install a flat, plumb surface over a wavy, unstable wall.
The process begins with careful demolition. Remove the existing mantel, trim, and any old cladding. If the previous surface was drywall, it is highly recommended to cut it out entirely down to the wall studs. This allows you to inspect the framing for any hidden fire damage, correct any out-of-plumb studs by shimming them, and install a fresh, rock-solid layer of half-inch cement board.
When cutting the cement board, leave a tiny gap (about 1/8 inch) between the panels to allow for structural movement. Fasten the boards directly to the wooden or metal studs using specialized, corrosion-resistant backer board screws. The fastening schedule is rigorous: drive a screw every eight inches along the studs. Never use standard drywall screws, as the alkaline nature of the cement board will rapidly corrode them, leading to a total failure of the wall system.
Once the boards are securely hung, you must treat the seams. Apply an alkali-resistant fiberglass mesh tape over all joints. Standard paper drywall tape will disintegrate in this environment. Using your trowel, embed the mesh tape completely with polymer-modified thinset mortar, flattening it as much as possible so it does not create a bump under your final tiles. If your fireplace features an outside corner, install a metal or heavy-duty plastic corner bead to ensure a perfectly straight, durable edge.
Take a long spirit level and check the entire wall. If there are significant dips, you may need to float the wall with additional thinset or a specialized wall-patching compound to create a perfectly planar surface. Taking the extra time during this gritty preparation phase will save you countless hours of frustration during the setting process.
4. Precision in Practice: The Fireplace Tile Installation Phase
With a perfectly prepped canvas, the true craftsmanship begins. Do not rush to mix your thinset. First, you must calculate the layout. Find the exact center point of the firebox opening and draw a vertical plumb line all the way to the ceiling. You will use this centerline to determine whether you should start with the center of a tile right on the line, or with a grout joint on the line. Dry-lay your tiles on the floor to visualize the cuts at the edges. The goal is to avoid ending up with tiny, awkward slivers of tile at the outer walls or directly against the firebox.
Once your math is perfect, attach a temporary, perfectly level ledger board across the wall just above the firebox opening or at the base of the wall. This board will physically support the weight of the first row of tiles, preventing them from sliding down the wall while the mortar cures.
Now, mix your mortar. Pour cold, clean water into a bucket first, then gradually add the dry thinset powder. Mix it using a high-torque drill with a paddle attachment at a low speed to avoid trapping air bubbles. Once it reaches the consistency of creamy peanut butter, let it sit undisturbed for ten minutes. This crucial waiting period, known as slaking, allows the water to fully activate the chemical polymers in the cement. Remix it briefly, and you are ready to spread.
Using the appropriate notched trowel, spread the mortar onto the wall. The size of the notch depends directly on the size of your tile. Large tiles require deeper notches (like a 1/2-inch square notch) to ensure adequate coverage. Always use a technique called directional troweling. Comb all the ridges in the same straight direction, rather than swirling them. This allows the air to escape easily when you press the tile firmly into the mortar, ensuring maximum adhesive contact. For all tiles larger than 12 inches, you must also “back-butter” them by spreading a thin, flat layer of mortar directly onto the back of the tile before setting it.
Press the tile into the wall with a slight wiggling motion to collapse the mortar ridges. To achieve a perfectly flat surface and eliminate “lippage” (where one tile sticks out further than its neighbor), highly utilize a modern tile leveling system. These systems use interlocking plastic clips and wedges to lock adjacent tiles into the exact same plane while the mortar dries.
Cutting the tiles requires patience and the right tools. A professional-grade wet saw equipped with a continuous rim diamond blade is mandatory for clean cuts, especially on dense porcelain or natural stone. For difficult L-shaped cuts around the corners of the firebox, use a variable-speed angle grinder with a specialized porcelain blade, taking care to move slowly to prevent the material from cracking under stress.
5. The Art of Grouting, Caulking, and Sealing High-Heat Zones
After the thinset has cured completely, usually requiring a minimum of 24 to 48 hours depending on ambient humidity, you must prepare for the final aesthetic touches. Grouting unifies the installation, but it also serves the critical function of protecting the edges of the tiles.
Choosing the right grout is vital. For joints wider than 1/8 inch, sanded cementitious grout is required to prevent cracking as the grout cures and shrinks. For very tight joints, unsanded grout is the correct choice. Today, many professionals opt for high-performance urethane or advanced epoxy grouts. While slightly more difficult to install, these modern grouts are incredibly stain-resistant, never require sealing, and offer slight flexibility, making them brilliant for high-heat environments.
Before applying the grout, ensure all spacer clips are cleanly snapped off and the joints are completely free of excess mortar. Using a hard rubber grout float, force the grout diagonally into the joints, pressing firmly to pack the joints completely full without leaving air voids. Scrape the excess off the face of the tiles using the edge of the float at a steep angle.
The timing of the cleaning phase is an art form. Wait until the grout has slightly hazed over on the surface of the tiles. Using a specialized, dense tiling sponge that is only barely damp, wipe the tiles in light, circular motions. Using too much water will wash the color pigment right out of the joints and severely weaken the grout’s chemical structure.
Crucially, you must understand the rules regarding changes of plane. Wherever the tile meets a different material (like the metal firebox insert, the wooden mantel, or the adjacent drywall), you cannot use hard cement grout. Hard grout placed in these areas will crack and fall out immediately due to differential expansion rates. Instead, you must use a specialized, high-heat 100-percent silicone caulk that is color-matched to your grout. This silicone bead acts as a permanent expansion joint, absorbing all structural movement silently.
If you chose natural stone for your surround, the final step is sealing. Apply a premium penetrating sealer to block the pores of the stone, protecting it from soot and ambient dirt. Depending on the specific stone, you may need to apply the sealer before grouting to prevent the grout pigments from staining the stone’s surface, followed by a second coat after the entire installation is complete.
6. Elevating Your Space: Knowing When to Call the Professionals
Executing a flawless hearth transformation is an immensely satisfying endeavor, but it is undeniably complex. The sheer physical labor, the necessity for expensive specialized tools like heavy-duty wet saws, and the strict adherence to building codes can quickly overwhelm a weekend warrior. A small miscalculation in layout can result in glaring visual errors right in the center of your living room, and failing to account for thermal expansion can lead to dangerous structural failures.
When dealing with massive porcelain slabs, expensive natural stone, or complex herringbone patterns, the threshold between a DIY project and a professional requirement is often crossed. If you want a guaranteed, flawless result that protects your investment, finding a verified expert is the wisest path forward.
When searching for a highly rated tile contractor near me, look for dedicated specialists who understand the deep mechanics of substrate preparation and high-heat environments. General handymen often lack the specific knowledge required for this niche. Companies dedicated to high-end finishes, such as Tile Decor Inc, represent the pinnacle of craftsmanship in the industry. By securing premium remodeling services Chicago homeowners and residents of surrounding areas can completely bypass the stress, mess, and physical strain of construction. Expert professionals manage the entire process from structural demolition to the final polish, executing even the most demanding fireplace tile installation with surgical precision.
Investing in a proper installation not only guarantees a breathtaking visual focal point for your family gatherings but also ensures a durable, safe architectural feature that will significantly increase the long-term value of your property.
