

Modern Tile Installation Tips
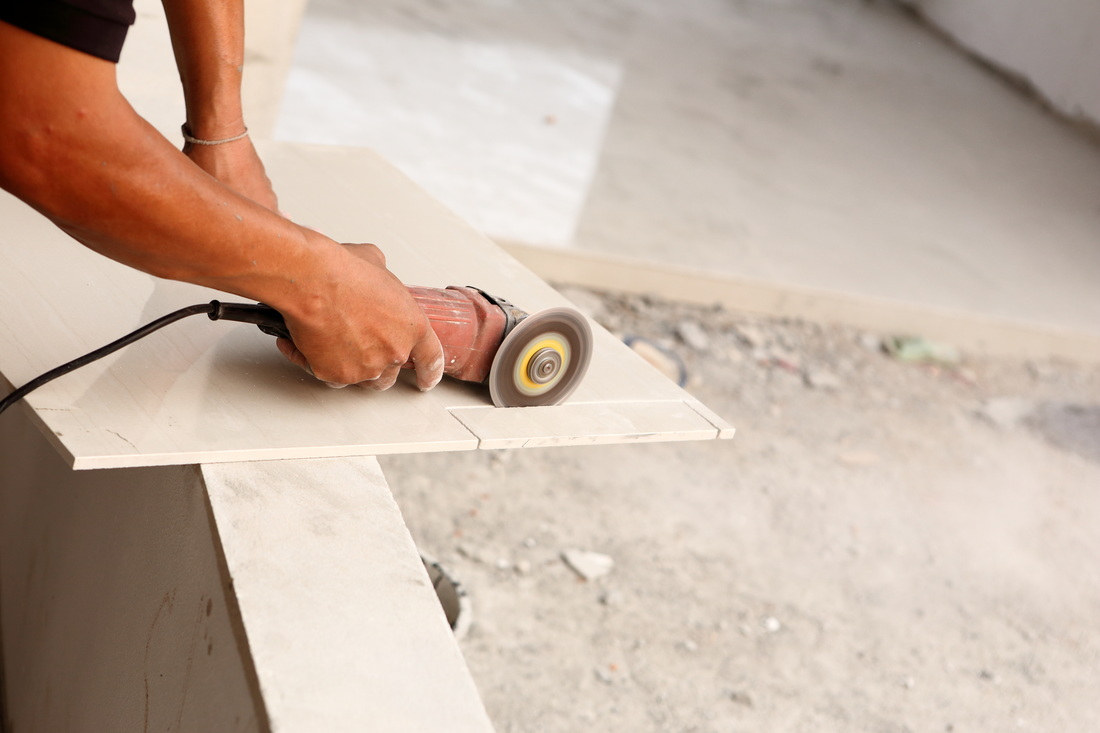
Tile installation can be an involved and challenging process with lots of tools and moving parts. The first tool you’ll need for any successful tile installation is a large-notched trowel. This will ensure that you have enough thin-set to handle even tiles as large as 2 sq. ft. Next you’ll need a diamond wet saw for cutting tiles and a fresh grout sponge for cleaning up the grout.
Once the tile installation itself begins, start by back-buttering the tile. This is necessary to ensure a strong bond, so take the extra time to spread thin-set on the back of the tile. If your tile installation includes mosaic tile, be sure to flatten the ridges before you set the mosaic tiles. This will prevent the thin-set from filling the grout joints and leaving you with quite the mess to clean up.
Even the most careful and attentive tile contractors can end up with some thin-set in the joints between tiles. If this hardens, it can totally mess up the grout job, so it’s always best to use a toothbrush to clean excess thin-set from grout joints. Wait until the thin-set gets firm, but not entirely hard before you clean it up. During your tile installation, you’ll have to level the mosaic tiles as well. This calls for a hardwood block about 8 inches by 6 inches. After your mosaic tile has been set, pat the tile into the thin-set with the hardwood block. Repeat this throughout your tile installation.
The final stage of your tile installation should involve premium grout. Grout technology has improved substantially over the past decades and modern grout is way easier to apply than ever. They’re also mold-resistant, denser, and stain-resistant, which is why tile contractors don’t skimp on their choice of grout. Premium grout can cost a little more, but the price is well worth it.
